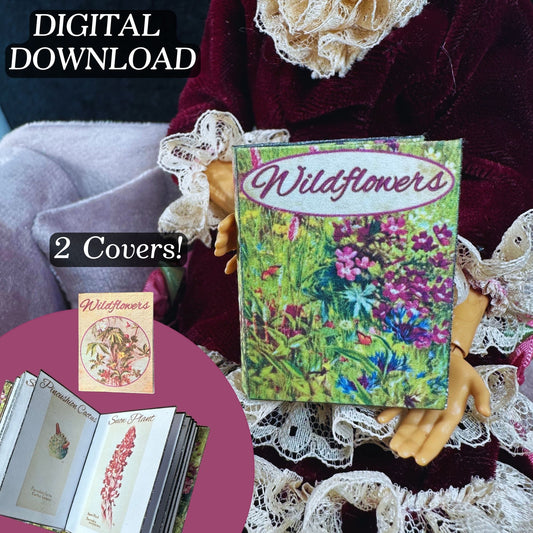
To complete your bibliophile Christmas, here is a quick, fun way to turn miniature books into ornaments. These instructions are based on my miniature book digital files that can be purchased here: Miniature Books. You can also use the instructions as a general guide if you have other mini book templates.

SUPPLIES:
•Scissors
•Stick glue
•Pen Cap or Scoring Tool
•Clothespin or Clamp
•Mini Book Print-out
•7" of Ribbon minimum (longer for larger loops)
•Hot Glue Gun with Glue Stick
•Cardstock *Optional

INSTRUCTIONS:
• Cut out the book cover, inside pages, and optional cover reinforcements.

• Use the pen cap or scoring tool to score all the pages at the same time. Do this by dragging the tool along each black page separator. The amount of pressure to use will depend on the dullness or sharpness of the tool.


• Fold the first page towards the inside pages and alternate folding accordian style for each consecutive page.

• When you reach the end of each set, glue the last page of the first set to the first page of the second set. Continue folding accordian style in line with the first set of pages.


• Repeat for the last set of pages.


•The pages should begin and end with a page that looks like aged parchment paper.

• Squeeze the inside pages closed and try to smooth out and adjust so that the top and bottom are as straight and flush as possible. Secure with a clothespin or clamp.

•Spread stick glue liberally over the spine. Let air dry until glue turns white or quickly dry with a hair dryer for a few minutes. This will keep the pages secure to the book upon completion.


• Score the four tabs and the spine of the book cover with your scoring tool.


• Either fold back and glue down the tabs of the book cover. OR...

•Glue the cardstock inserts to the inside front, inside back, and spine. Then glue the tabs down over them.

• There are many hanging options for this project but generally craft cord, burlap string, or thin 1/8" ribbon will be suitable.

• Glue the ribbon to the spine one side at a time. Make sure you are creating a ribbon loop on the top of the book!


•Retrieve your drying/dry inside pages. Figure out which side starts with the first page and get ready to hot glue just the spine of the pages to the spine of the book.

•Place hot glue on top of the ribbon and quickly attach and center the spine pages before the hot glue dries.


• Spread glue on the back of the first and last page. Smooth them down flat to the corresponding areas on the book cover.


• Close the book and let dry.

Completed Project: